Party Girl Card

I made this card for my neice Ellie's 18th Birthday. It is an easel card and the stamp was a freebie from the Creativity Magazine. I die cut the Flowers out of Velum and some of the Vintage Notes Do Crafts papers. I wanted it to look as girly and fun as possible.

The side elevation to show the dimension added by the flowers

Inside I put a pocket for some money for a present.

Finally I made a box to keep it safe in the post and for her to keep it as a momento of the day, and packed in lots of tissue it was sent off. I just love this stamp and couldn't help reuse it on the lid. She is into fashion and was very excited about being able to have her first drink so this stamp was so perfect for her.

Country Companions Card and Gift Box

Decoupage from Do Crafts Range bliters and big bloomers from papermainia


We filled the box with special sweets and little mini Easter eggs.
Birthday Boy
A first birthday Card for my Nephew

For this card I used the free Molly Blooms stamp and paper set from the Birthday Parade Magazine.

I started with a precut scallop card blank and I layered a square of the blue paper, inked on the edges with Tim Holtz weathered wood distress ink.
Next I cut a smaller square in the Multicoloured tartan and die cut a scaloped circle from the yellow checked paper. I inked both with Tim's tea die distress ink and attached a piece of blue anita's ribbon across the two tucking it behind before attaching it to the blue square. I then stamped the boy image on white card and coloured it with pens before diecutting it into a circle (inked again with weathered wood) and placed it on top of the circle with some foam pads to give it a bit of dimension. I tied a faux bow on the ribbon on the right of the image, ( I thought a proper one would be too girly) and added a cupcake and birthday greeting and a grouping of buttons to balance it out on the opposite diagonal.
All of the papers and stamps were in the magazine and the design was adapted from a card in there.

For the inside I embossed a piece of paper with a Happy birthday embossing folder and couldn't resist adding another cupcake, they are very addictive to colour.

There we are... all finished, a very quick card but very striking and fun for a young boy.
Birthday Girl

This is a card I have just finished for my daughter Beth's 15th Birthday, It is a centre step as I wanted to use my new Molly Blooms stamps and wanted to put the windmill in the background and the can of tulips in the foreground but wanted to get the perspective fairley correct. I just love the new Molly Blooms summer range and it felt so good crafting in bright summer colours after so many christmas cards.The backing papers are by K&Co and I just loved putting them together with the stamps as they are so girly and fresh.
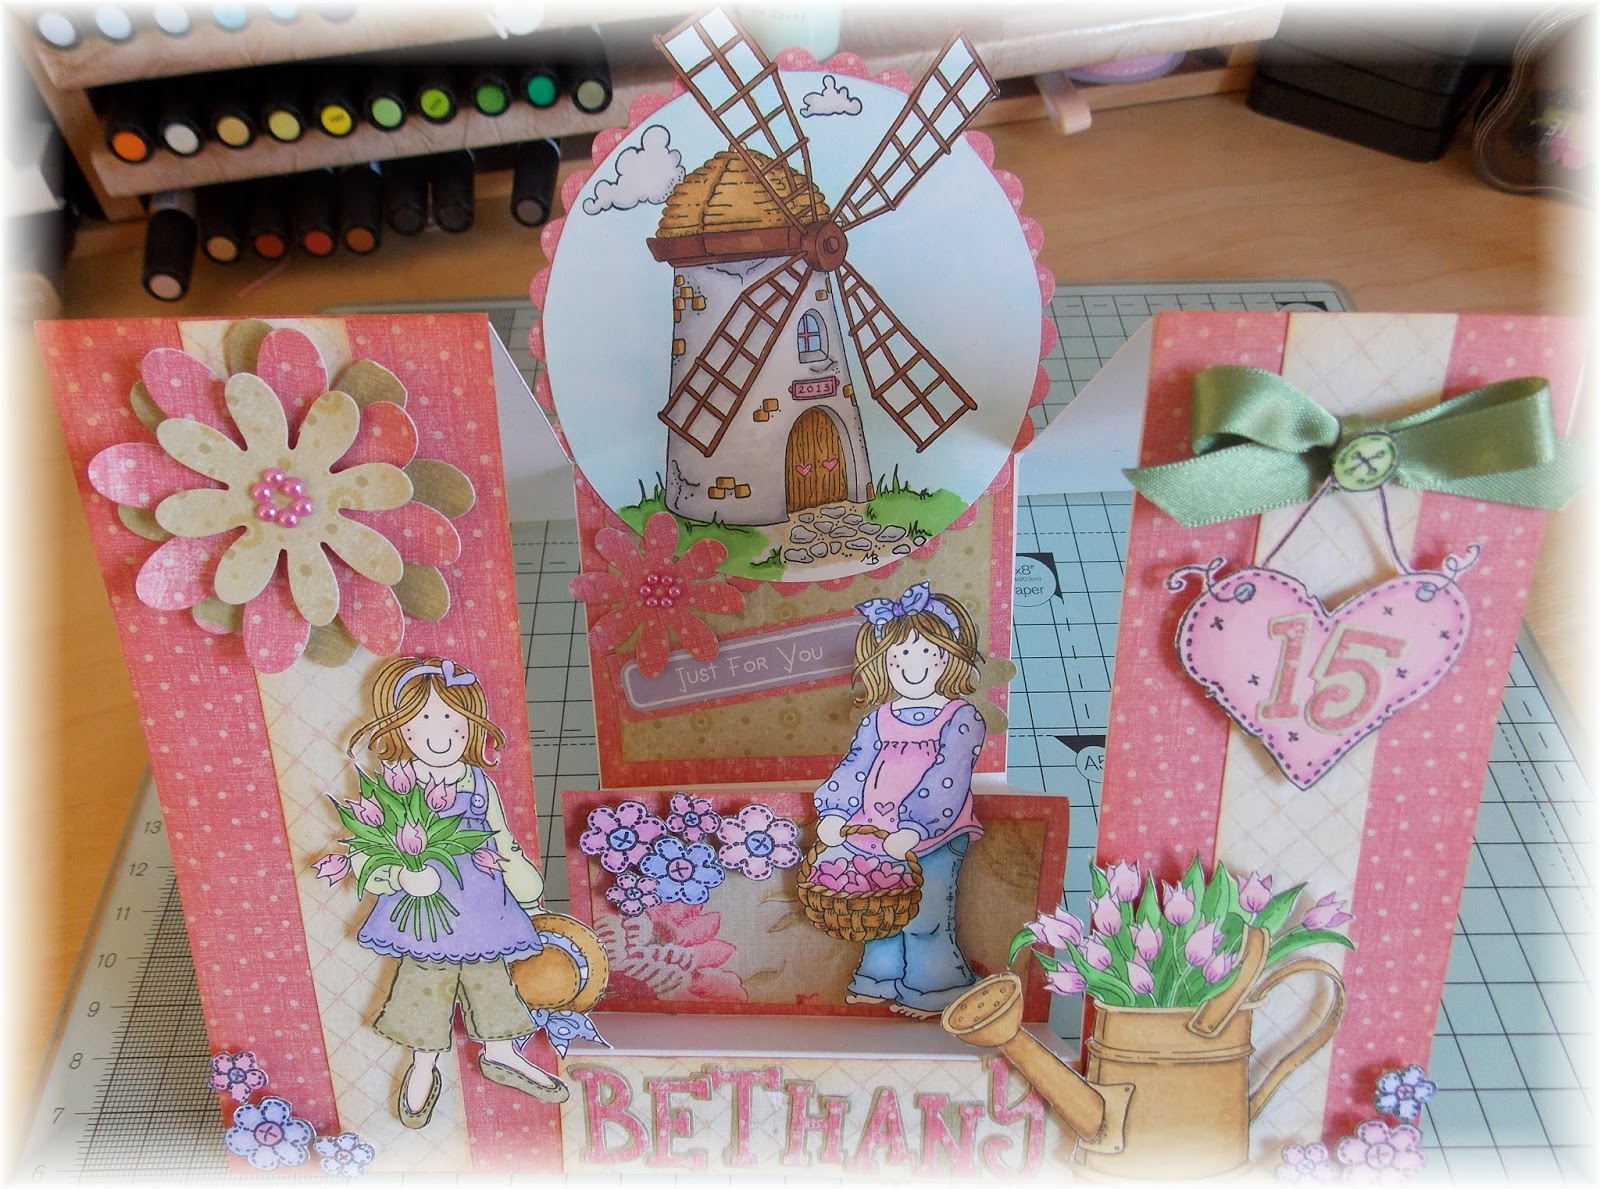
Here is a view from above to show the dimenshion more clearley.


I just love the watering can, it is so fun to colour and really draws the eye, I think I will be using it again and again.

Flowers from the Birthday Parade magazine also, I coloured and cut out lots and mounted them on foam pads in areas of the card. They really looked effective for very little work.
Below is the template that I used. I got it from Bev Rochesters' lovely site, the link to which is posted below so that you can see what she did with it, she is so clever, and I love her site.

It is such a useful template and so easy that I will now have to use it for a few christmas cards too.
Hope you have fun and that I have given you a few ideas
Best Wishes
Maria
Tea For Two
This is my second attempt using a Lilli of the valley stamp and my first go at using flowers on a card. It is a tent fold scalloped edge card and the image is coloured with Spectrum Noir Pens

I am entering it in the following challenges,
LOTV : Anything Goes
4 Krafty Girlz : Everything Goes.
links below so go and take a peek.

I was so pleased with how the sprays of flowers turned out espeshally as I hadn't a clue what I was doing. I even remembered to curl the remaining wire into corkscrew curls to give it a professional touch.

I added a smaller spray on the bottom edge to balace it out.
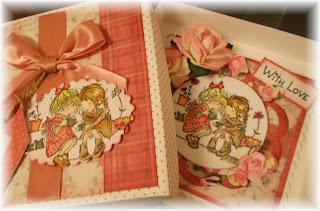
As it is going in the post I just had to make a matching gift box and couldn't resist a bit of ribbon and a matching image.
 I just loved using the LOTV stamp,the papers were from them as well and are from the country Lady pad they also coordinate with the Country Gent pad. It has lots of polka dots plaids and florals so I was in Paper Heaven.

For the insert I ran the paper through an embossing folder and then inked it with some Tim Holtz Antique Mahogany distress ink which matched the papers perfectley.
Here is a slightly better picture as when I took the others it was very dark
 Hope you like it
Best wishes Maria
Gone Fishin'
Here is my very first card using one of the lovely stamps from Lilli of the Valley, made for one of my nephew samuels 7th Birthday. I wanted to aim for a vintage feel and make it very masculine so started with craft cardstock for the base.
Hope you like it
Best wishes Maria
Gone Fishin'
Here is my very first card using one of the lovely stamps from Lilli of the Valley, made for one of my nephew samuels 7th Birthday. I wanted to aim for a vintage feel and make it very masculine so started with craft cardstock for the base.

It is a half zigzag and here it is opened out.......
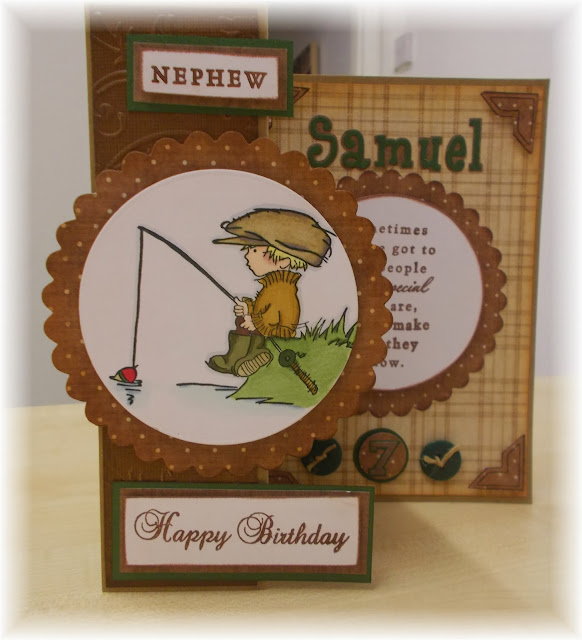
 I just loved the stamp from the first time that I saw it as it reminds me of my father in law who loved to fish and whom Samuel is named after. It also actually resembles my nephew, so it was an easy choice for his card. I was able to layer the sentiment behind the main picture so that you only see it when it opens out, and this one from the Wellington Stamp collection seemed to fit so well. I used my new pad called country Gent from Lilly of the valley for backing papers. It was one of my favourite birthday pressies from my lovely hubby who spends as much time on craft websites as me. I always feel boys cards are my nemisis but the papers all go together so wonderfully in the pad that I really enjoyed myself. I used the Tim Holtz tea die distress ink and brown petal point to ink all the paper to bring it all together.
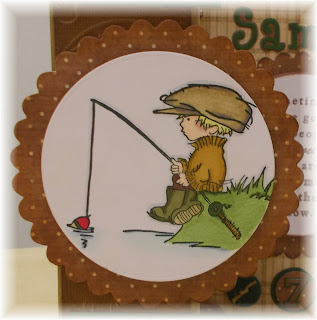 Here is a close up of the stamp, it was a dream to colour, and I'm sure I will get lots of use out of it on future projects. I just love the look of concentration on the little boys face it really reminds me of Samuel. Can't belive I managed to make a whole card with no flowers or ribbon, or lace and I still love it.
Happy Crafting
Maria
Here is a close up of the stamp, it was a dream to colour, and I'm sure I will get lots of use out of it on future projects. I just love the look of concentration on the little boys face it really reminds me of Samuel. Can't belive I managed to make a whole card with no flowers or ribbon, or lace and I still love it.
Happy Crafting
Maria


 I just loved using the LOTV stamp,the papers were from them as well and are from the country Lady pad they also coordinate with the Country Gent pad. It has lots of polka dots plaids and florals so I was in Paper Heaven.


It is a half zigzag and here it is opened out.......

 I just loved the stamp from the first time that I saw it as it reminds me of my father in law who loved to fish and whom Samuel is named after. It also actually resembles my nephew, so it was an easy choice for his card. I was able to layer the sentiment behind the main picture so that you only see it when it opens out, and this one from the Wellington Stamp collection seemed to fit so well. I used my new pad called country Gent from Lilly of the valley for backing papers. It was one of my favourite birthday pressies from my lovely hubby who spends as much time on craft websites as me. I always feel boys cards are my nemisis but the papers all go together so wonderfully in the pad that I really enjoyed myself. I used the Tim Holtz tea die distress ink and brown petal point to ink all the paper to bring it all together.
No comments:
Post a Comment